
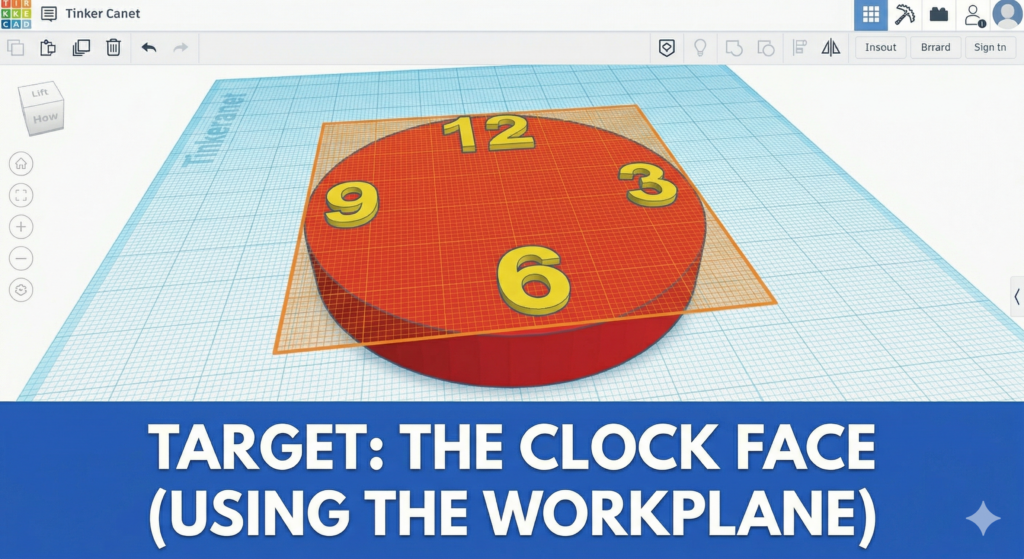
Enter Hugo Cabret! Today we learn Hugo’s job: keeping the station clocks running.
Your Infographic Blueprint:
This image shows how the temporary orange workplane grid lets you drop numbers 12, 3, 6, and 9 perfectly on top of the clock face disk!
TinkerCAD Hotkeys for today:
- W: (Press W) to turn your mouse into a magic floor-placer (The Workplane tool)!
- Shift+Right-Click: To move your entire camera in a straight line instead of spinning it.
- A: (Hold A and click a shape) to zoom into it and see the details.
- Ctrl+X and Ctrl+V: (Cut and Paste) to move shapes between different models!
Step-by-Step Instructions:
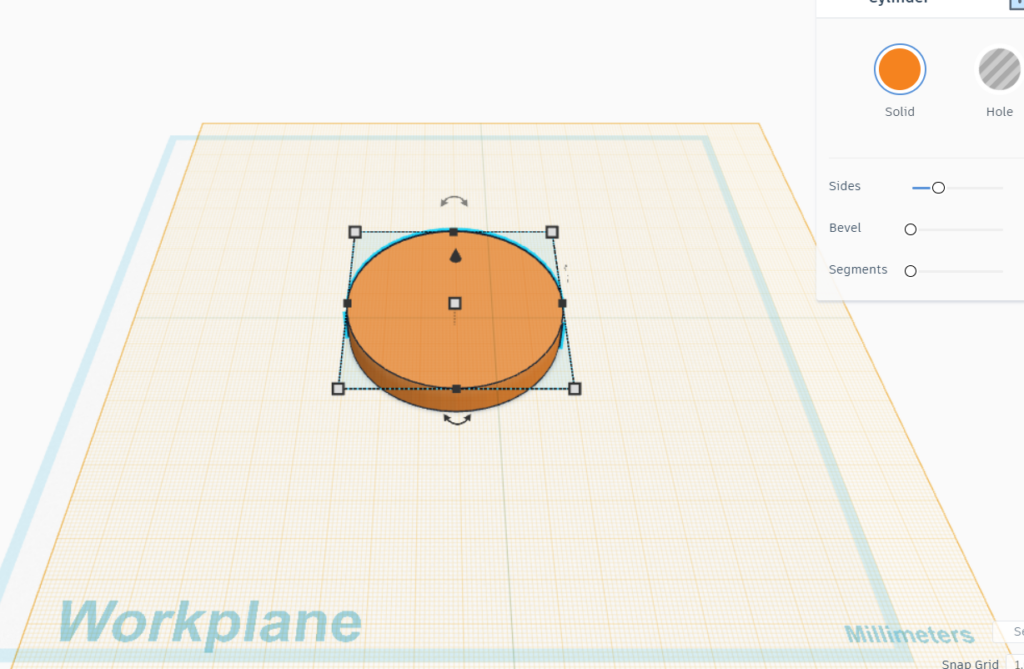
- The Clock Face: Drag a Cylinder onto the floor. Squash it down so it is flat like a pancake (about 3mm high). Make it nice and wide.
- Get the Workplane Tool: (Press W on your keyboard).
- Drop it on top: Click exactly on the flat top of your clock face. The floor should turn orange!
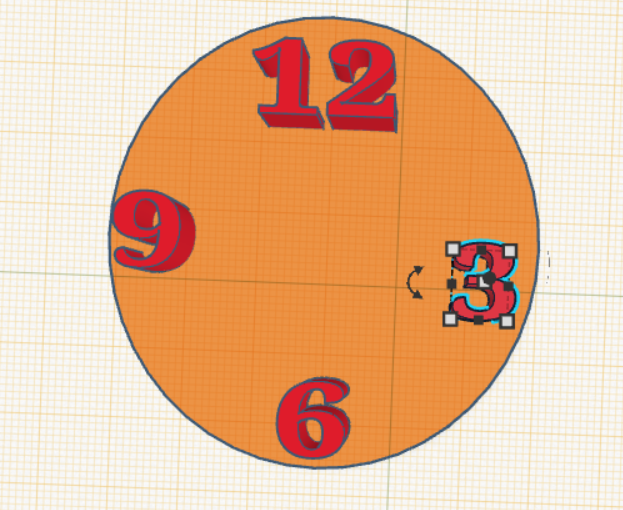
Add your numbers: Now, drag the numbers 12, 3, 6, and 9 from the basic shapes library. Because of your new orange floor, they will sit perfectly on top of the clock!
Don’t forget to check all your numbers are the same size
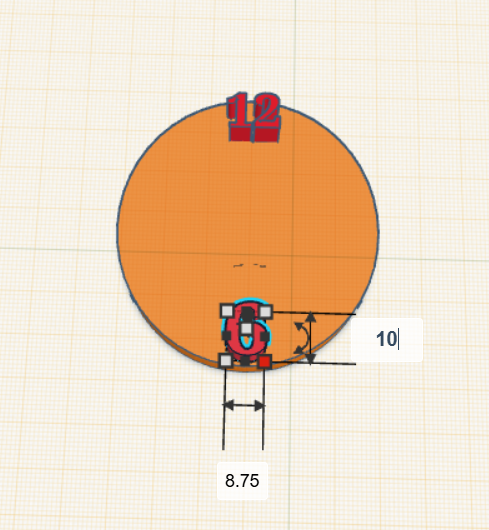
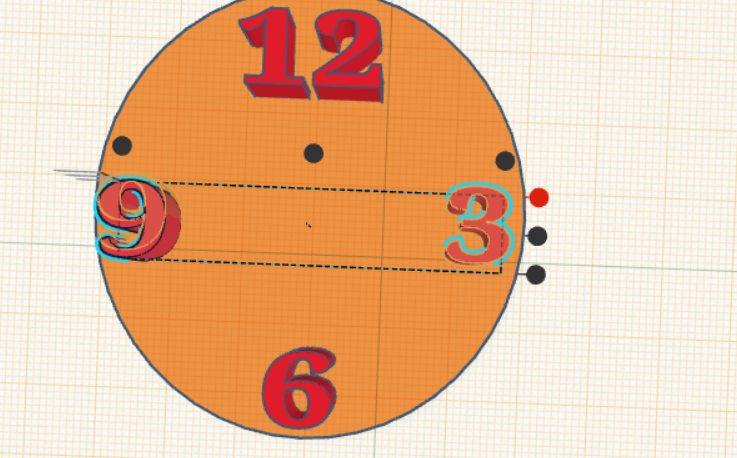
We can now use the align tool to ensure all objects are lined up.
Select two objects and then click align:
Before:
First click the first object then hold shift and click the second object.
Then click align

Finally click on the dot showing where you want it lined up
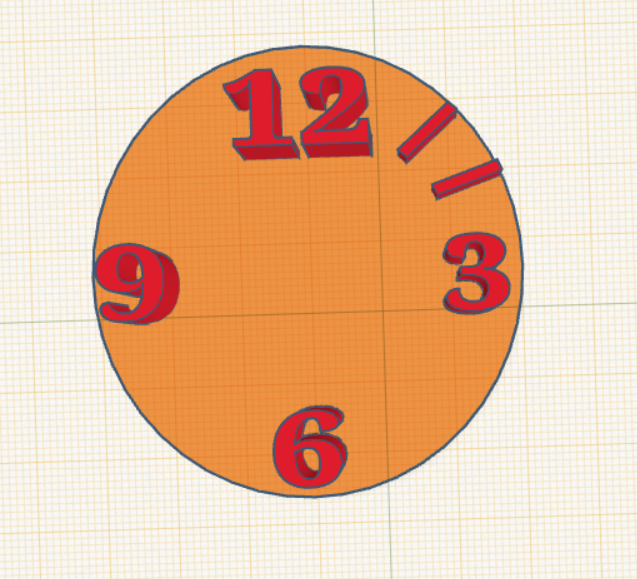
After it should look like this:

If you’ve done this can you now add the increments for the remaining hours using the box tool
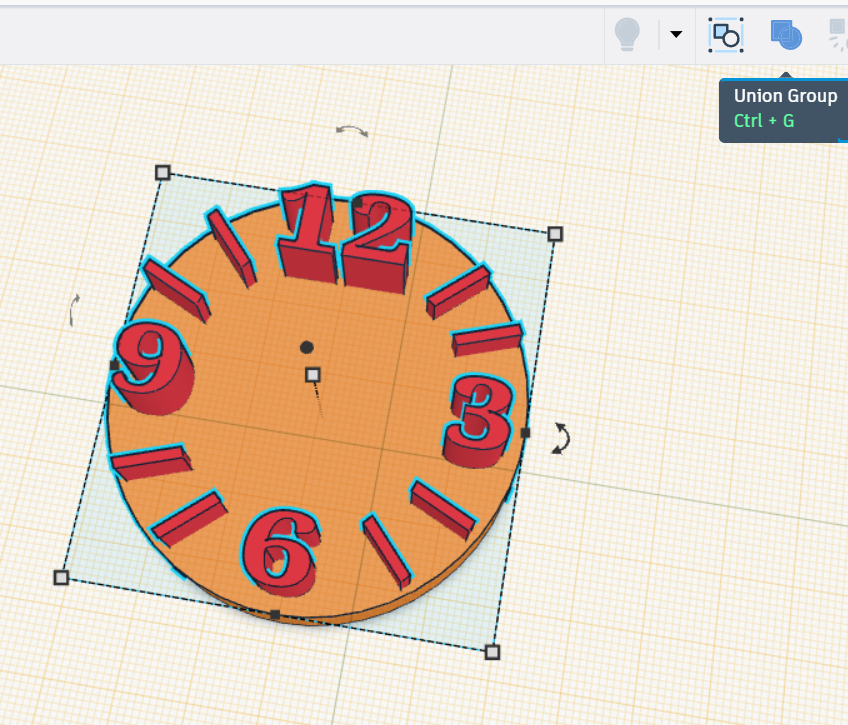
When you are finished don’t forget to group the items
When you are finished add your name as a hole pushed gently into the clock face so it doesn’t get in the way of the mechanism. It will need to be small and not stick out.
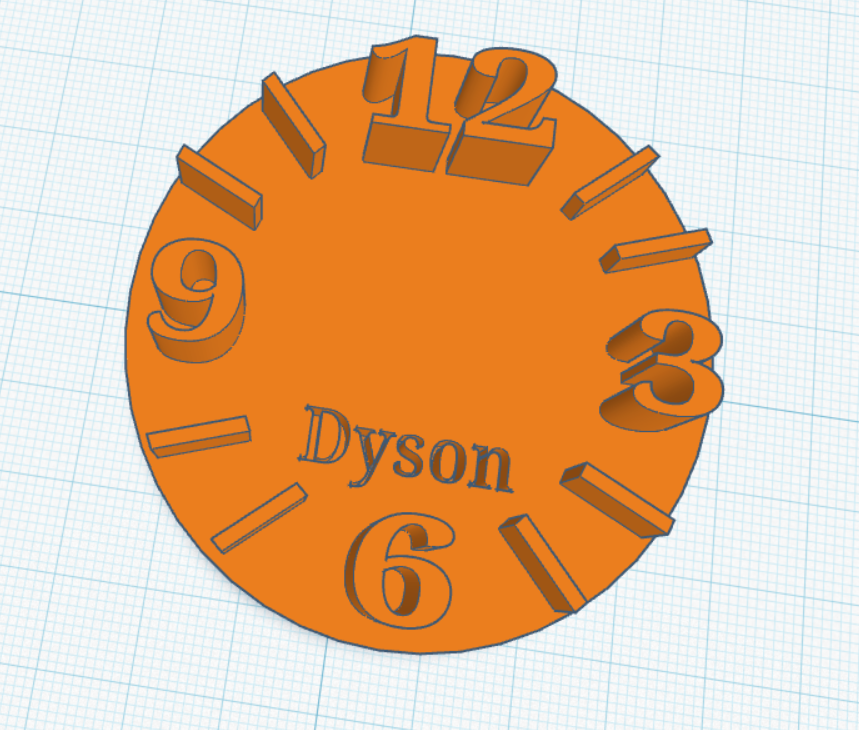
There is also a small space at the top to add decoration if you want to – again it must be pressed into the design and mustn’t be in the middle
Reset: Press W again and click anywhere in the empty blue space to turn the floor blue.
We won’t be printing this yet as there is more to add but this is what it would look like:

Alternatively if you so wish you can design it with partial holes:
