
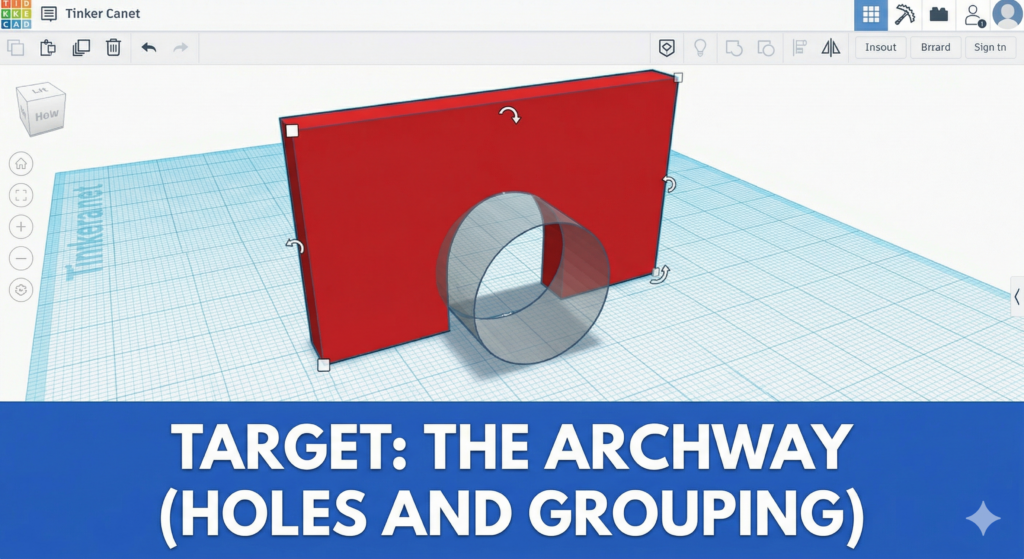
Building the Station! Today, we learn how to carve shapes out of solid walls using “Holes.” We make complex designs by removing material, not just adding it.
Your Infographic Blueprint:
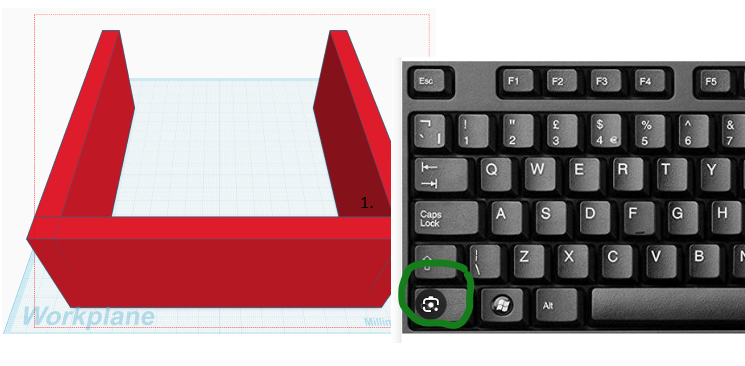
This image shows how a clear “Hole” shape (the ghost cylinder) can carve an opening through a solid wall!
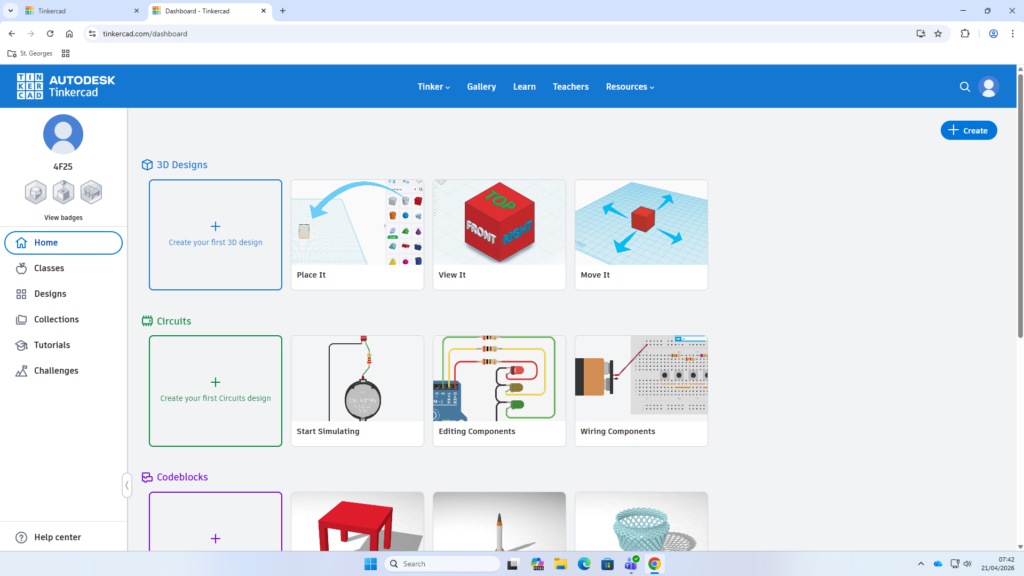
Once you have logged in, click create on your home screen.
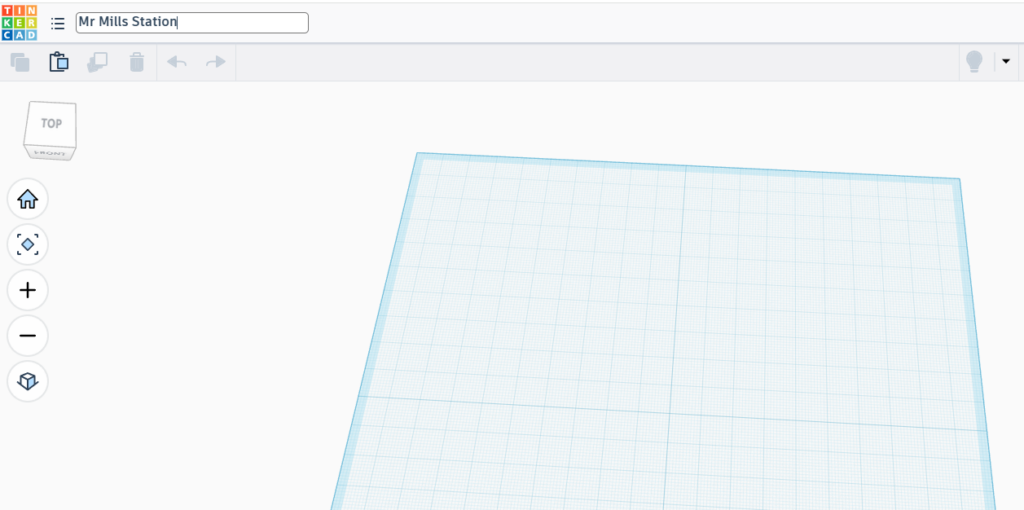
Rename your file with “your name” and “station”
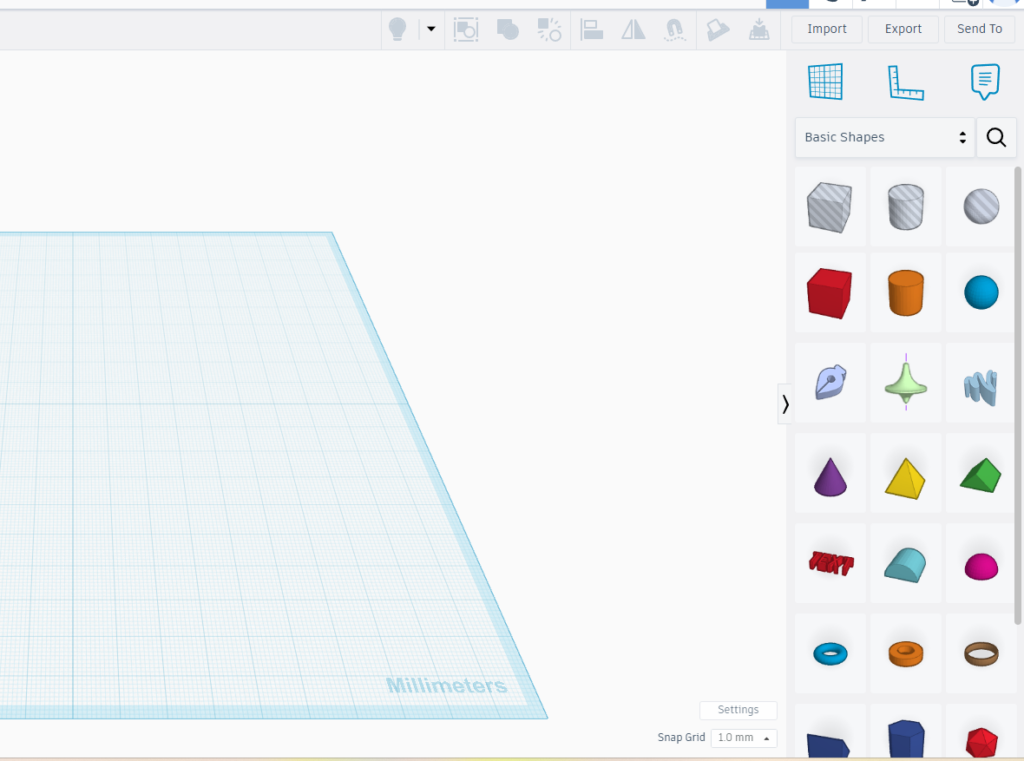
Click and drag a new cube onto you workspace
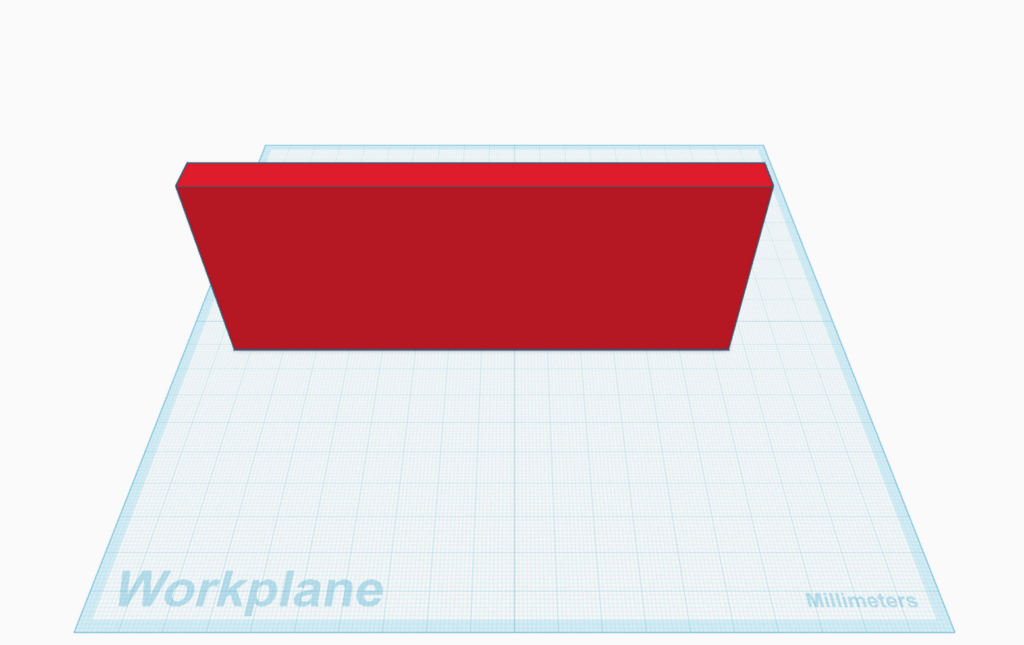
Using the skills you learned in your last lesson, manipulate your cube and change the dimensions to 150mmx10mmx60mm
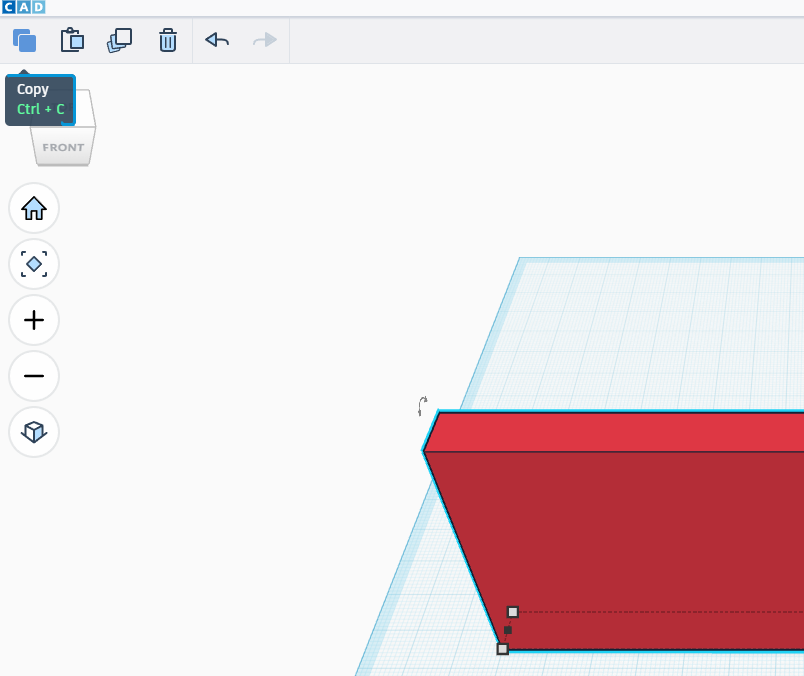
For our next step we need to make more walls. We can do this by using the copy and paste buttons in the top left of your webpage.
Alternatively you can use the duplicate function, which you can find next to copy and paste in the top left of your webpage. (If you are using duplicate, your wall will be copied in exactly the same place so you will need to click and drag to separate them).
The next step is quite tricky so follow the instructions carefully
Rotating our walls To do this we need to select your wall and look for one of the 3 double ended arrows.
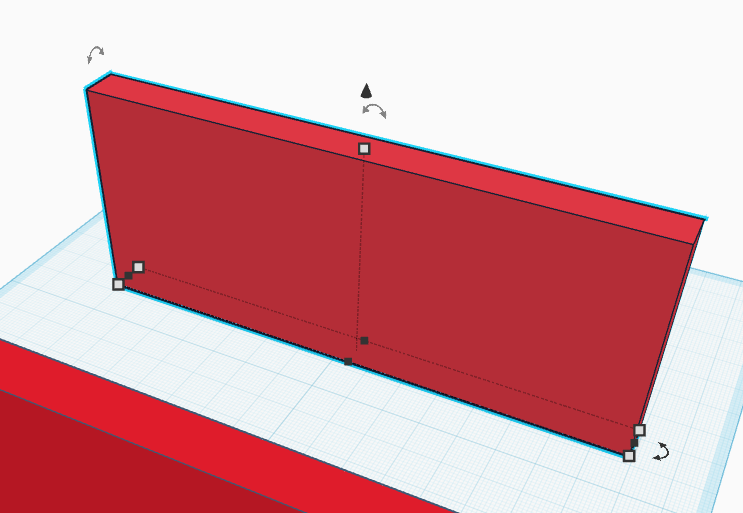
Click on the one that looks like it is lying down
Left click and hold and a circle will appear that looks like this.
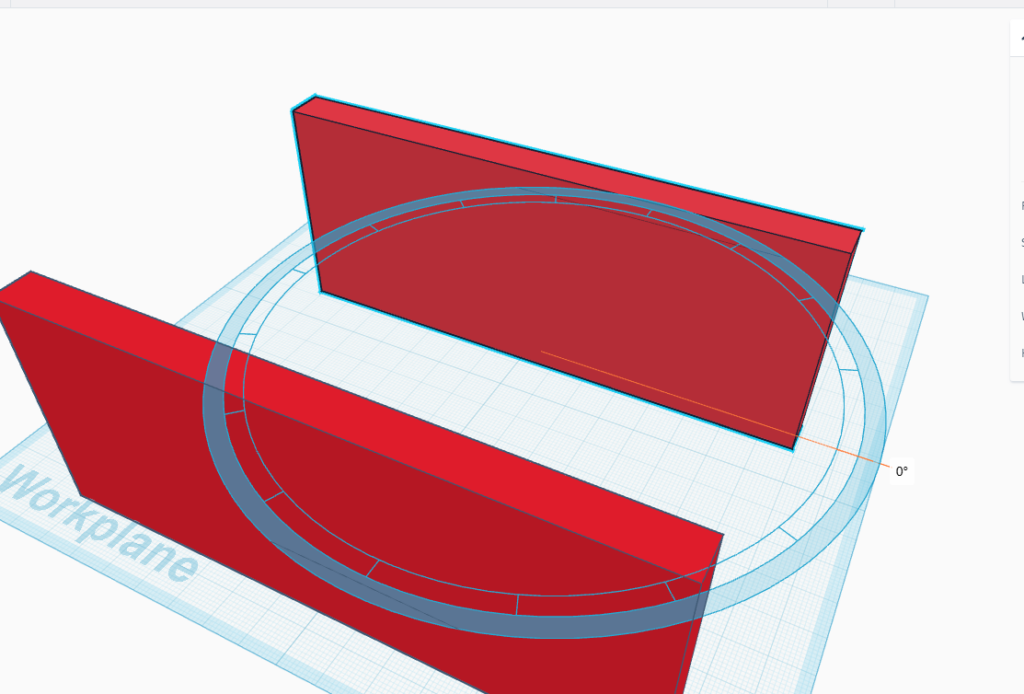
Drag your mouse around to rotate your shape 90 degrees.
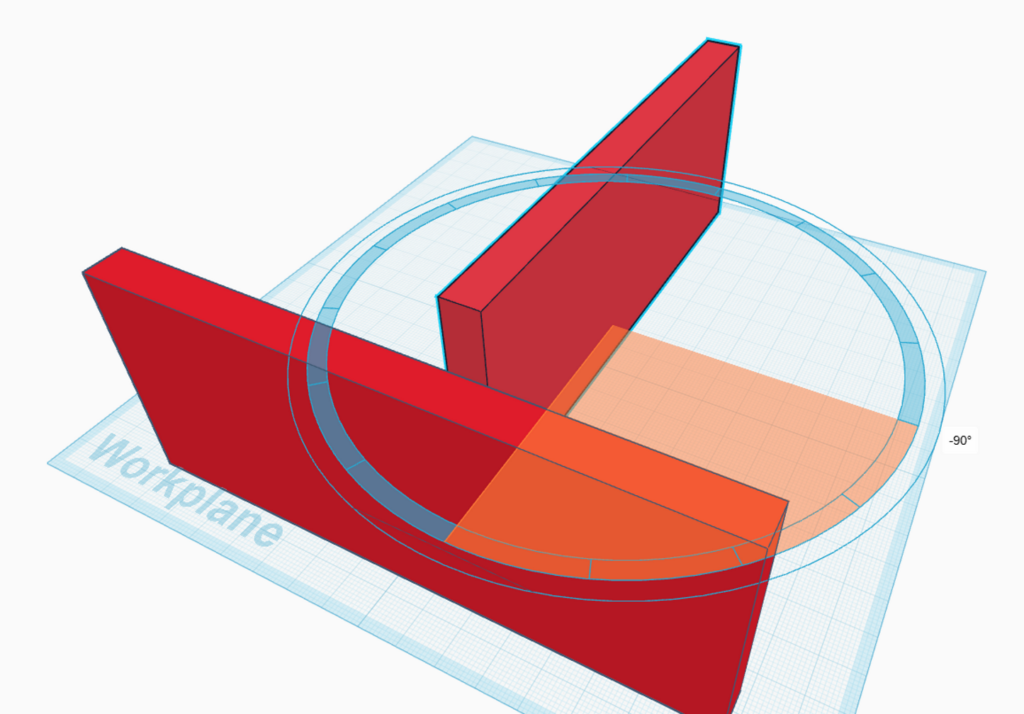
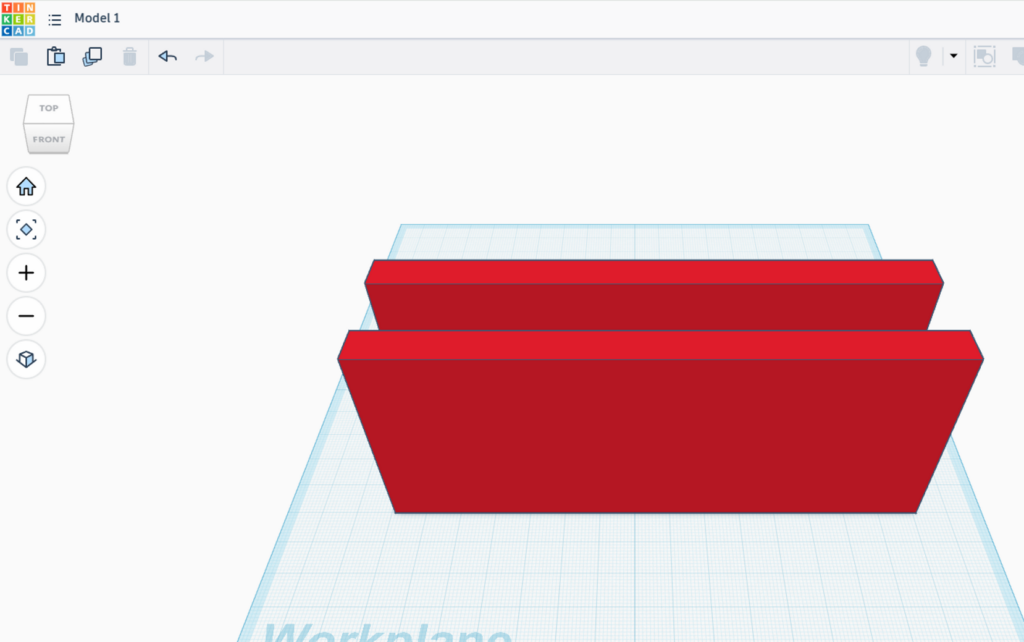
Copy and paste or duplicate the wall you have just rotated so you should now have your 2 side walls.
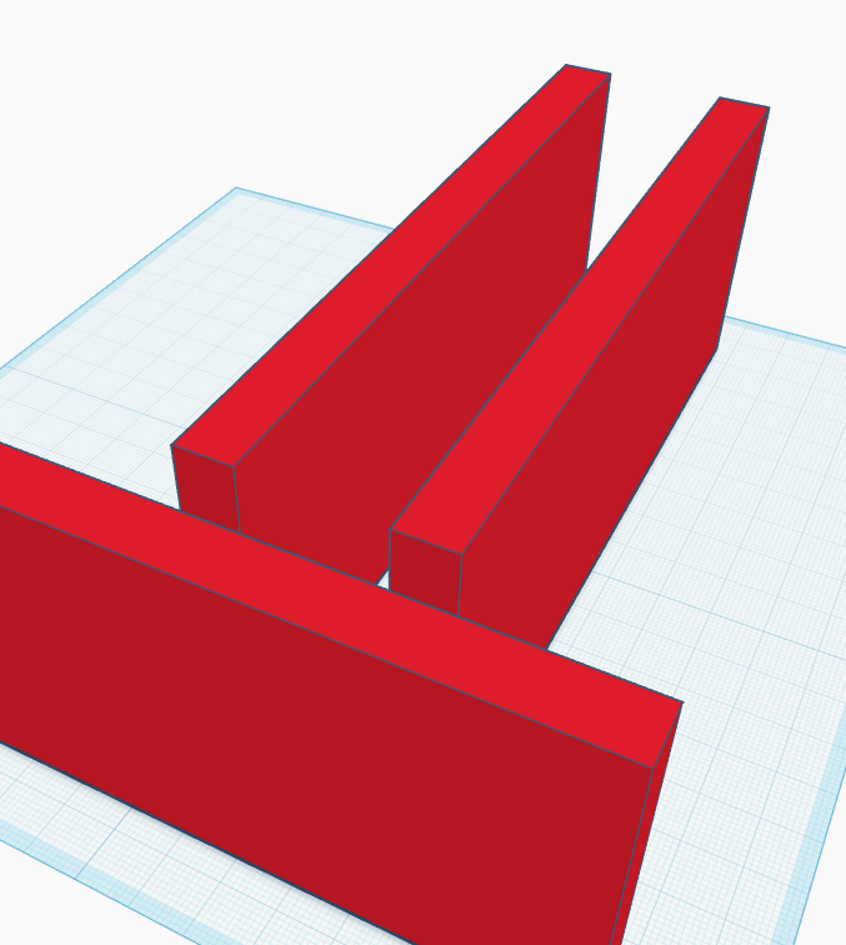
Now it is time to connect your 3 walls together. Move your first wall into a position where all of your walls can fit onto your workplane (the blue square).
Click and drag your other walls so they line up with the corners of each other.
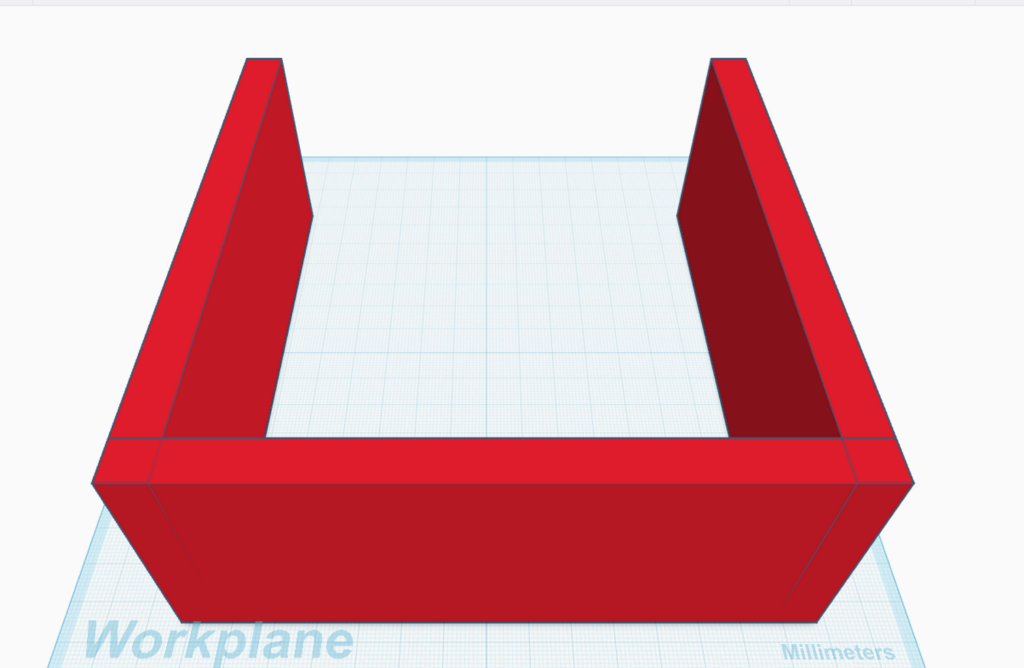
When you are happy with your positioning it is time to group your walls together so you can move them all together. To do this you need to select all of your walls by either Holding the
shift key and clicking on all of your walls. Or, Click on your workplane and drag the red square over all of your walls.
Select the group option in the top right corner of your webpage.
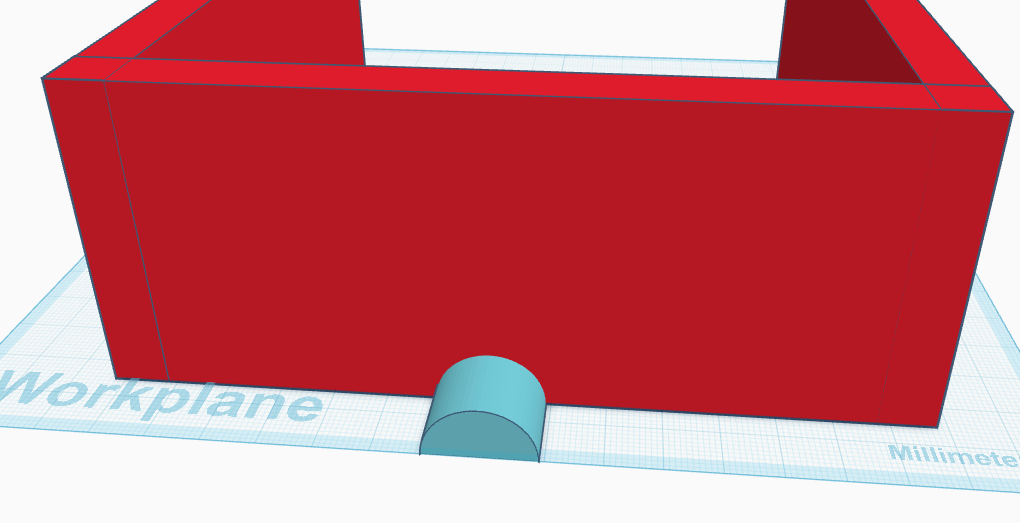
The final part of your task is to create a door to your train station. Select the cylinder or the half cylinder shape from the basic shapes menu.
Drag your chosen shape to your workplane and place it in front of your station. (You should be able to attach it to your wall so you do not have to rotate it.)
Adjust the size of your new shape to make a good sized entrance.
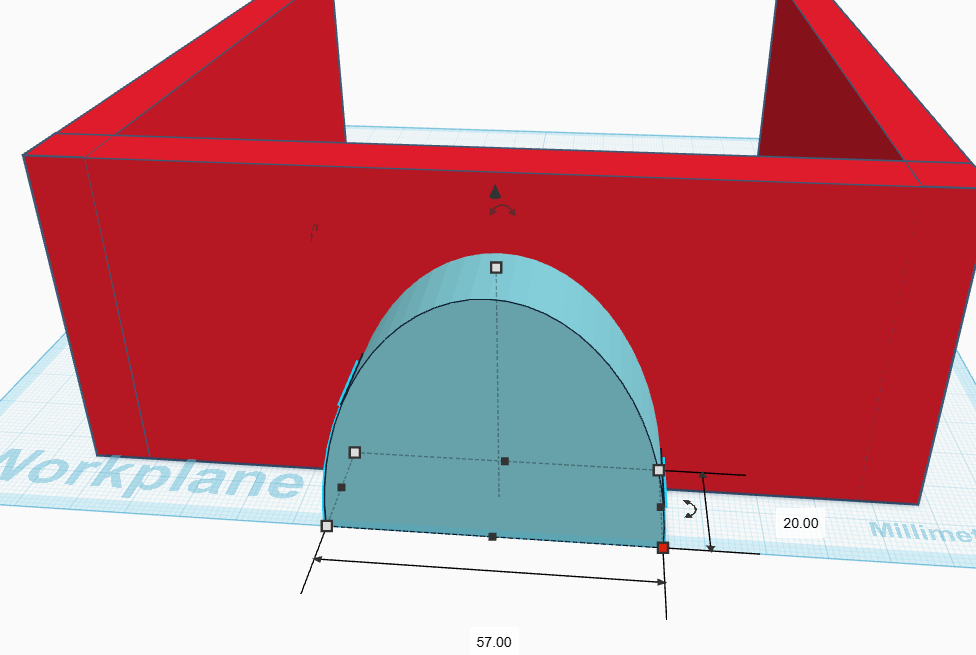
Rotate your movement cube so you have a birdseye view of your station. Make your doorway longer so it pulls through your wall.
Make sure your doorway is still selected and change it from a solid shape to a hole.

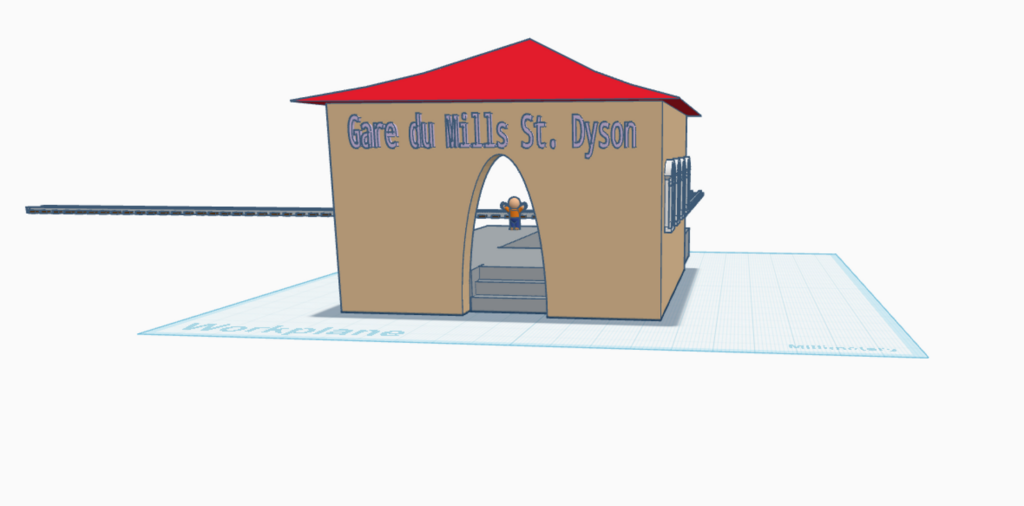
Finally select your walls and your new doorway and group them once more.

If you finish all of these steps have a go at adding some more to your station such as train tracks, platforms and passengers. Make it your own, make it unique 😊.
TinkerCAD Hotkeys for today:
- H: (Press H) to instantly turn any shape into a transparent “Hole” shape (a cutting tool)!
- S: (Press S) to keep your selection locked on the center.
- The group button or Ctrl+G: (Group) The most important command. Merge your shapes together!
- The back arrow or Ctrl+Z: (Undo) (Press Ctrl+Z) if you group the wrong things or make a mistake.